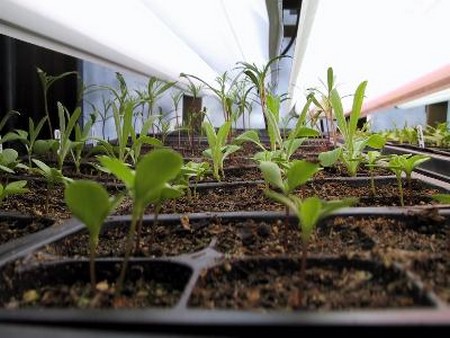
With sowing indoors you are much more in control of the growing conditions but that means the seedlings are much more dependent on you.
Hygiene is important so make sure the trays are clean. Ideally they should be cleaned before putting them away the previous year, and then washed before use with a citrus-based disinfectant. As soon as the seeds have germinated they will need light. This should be all round light as much as possible to avoid the seedlings being drawn up and getting thin and leggy. If you are starting them on the window-sill remember to turn them regularly. Alternatively, sit the tray in a box with a high back covered with reflective foil.

The temperature needed for germination varies with the seed but a
cold indoor situation is actually worse than the same temperature outdoors. Indoors there is less air movement and seedlings are more likely to dampen off. Remember, if they are on a windowsill, take them off at night or at least put the curtains behind them, rather than shutting them into the cold space between window and curtain.
Avoid watering the seed trau after sowing as this will wash the tiny seeds all over the tray. Either moisten the compost before sowing or, after sowing, lower the whole tray gently into water and allow it to soak up until the surface is just moist. You should then need no extra watering until the seedlings emerge unless they are in very warm and dry conditions. A pane of glass can be put over individual seed trays.
Trays may need some sort of protective framework. Cats love to sit on them. Slugs will climb up and in to them. A propagator would solve these and the other problems above. Even small commercial ones are expensive but would be useful for starting one or two trays of seedlings at a time. A larger one could be made from a slatted bench with a wire framework above and a greenhouse electric fan heater, with thermostat, below. The whole bench is encased in bubble plastic that will provide an even light but diffuse scorching sunlight. Make absolutely sure that water cannot drip onto the heater, and if you need a small heater for the home then have a look at About Heating as they have some really good choices.
The right seed compost is essential to give plants a good start. In general a seed compost is less rich in nutrients than a potting compost, but if the seedlings are not going to be potted on quickly then a combined “seed and potting compost” would be best. It is possible to buy ready-mixed organic composts but if you have the materials it is not only satisfying, but also cheaper, to make your own.
Garden soil on its own, even if sieved, will not do. It will not have a light enough structure and may be low in nutrients and will probably contain lots of weed seeds. Instead, use a base of loam (from stacked turf), or the lovely fine crumbly soil turned up by moles, if you are lucky (or unlucky) enough to have them! This base is then combined with leaf mould or coir (coconut) fibre. Add coarse sand for drainage and calcified seaweed to sweeten it.
A potting compost will need to be richer in nutrients as it will have to support the growing seedlings until they are planted out. Garden compost, worm compost or comfrey leaf mould could be added to the base, together with seaweed meal.
When you are pricking seedlings out into potting compost handle them very carefully, holding them by the leaves rather then the stem. If they have got at all thin and leggy then plant them lower in the potting compost. Again, soak the trays from below but also mist-spray the foliage to minimize the shock of transplanting.
Once the transplanted seedlings are growing strongly, and it is warm enough outside for them to be planted out, they can be hardened off. This should be a gradual process to avoid a check in their growth. From the propagator or windowsill, they can be moved to an unheated greenhouse or poly tunnel where they should be given an extra cover at night.
After a week of this they can be moved outside during the day but should either be brought back in at night or covered with a piece of bubble plastic on a wire framework. Set them on slats to raise them up off the ground and do a slug check last thing at night. At the end of this second week they will be ready for planting out.
Water thoroughly before planting out. In general—plant slightly lower than they were, firm down around the plant, water well until they are established and keep down weed competition.
At all times handle the plant with care and give it the best conditions you can. Organic pest and disease control depends above all on having well grown, sturdy plants that have not been stressed and are growing in the conditions that suit them.
Your seedlings need
- light
- warmth
- moisture
- protection
- clean seed trays
- the right compost
A recipe for seed compost
2 buckets loam or molehill 2 buckets leaf mold or coir half a bucket coarse sand a handful of calcified seaweed. Mix well and put through a coarse sieve. Fill seed trays, pressing gently down.
A recipe for potting compost:
- 2 buckets loam or molehill
- 2 buckets leaf mould or coir
- 2 buckets garden compost
OR
- 1 bucket worm compost
- half a bucket coarse sand
- a handful calcified seaweed
- 8oz/225g seaweed meal
Aftercare
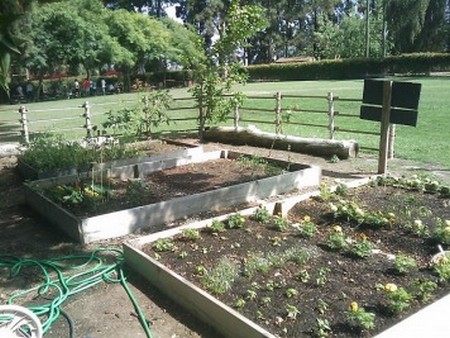
If you need to water plants growing outdoors it is better to give them a good soak every so often rather than a more frequent, light watering. The latter will bring the roots up to the surface and the plant will then be more vulnerable to drying out. Occasional, thorough watering will encourage the plant to put down deep roots, bringing up moisture and nutrients.
Otherwise, aftercare consists of keeping down the weeds, staking plants if necessary against the wind, and keeping an eye out for pest and disease attacks. A regular look round the garden will prevent small problems becoming bigger ones and, of course, this is part of the enjoyment of having a garden! Quite often it is easy to forget to stop for a minute, take a look at your “patch” and give yourself a pat on the back for all the work that you’ve done.
Watering seedlings
Water for watering and spraying is better at room temperature, but if it is left standing warm it could encourage fungal growth. Horsetail and calendula both seem to have an anti-fungal effect and seedlings sprayed with water in which they are infused suffer less from damping off.
Further Readings:
