Difficulty: Challenging
If you don’t have a solid understanding of basic construction principles, then consider hiring professional deck builders sacramento.
Instructions
Items You Will Need:
Pencils
Drills (Electric Variable)
Angle Irons
Lag Screws (multiuse)
Levels
Circular Saws
Lumber
Hammers
Joist Hangers (Optional)
Framing Combo Squares
Handsaws
Galvanized Screws or Nails
Measuring Tape
Calculate How Many Steps Need to Be Made
Step 1
Measure how tall the deck is
Step 2
Divide height of the deck by 6 or 7. This number will give you the number of steps you will need to build from the ground to the top of the deck.
Step 3
Determine what the tread is. The thread is the how wide the step is from the rear to the front. It is also called ‘T’. It is two times the rise (also labeled ‘R’_ plus how wide the tread is. It needs to measure between 26 and 24 inches. Or, (2 x R) + T = 24 to 26. For example, a riser 6 inches in height, the tread would measure between 12 and 14 inches.
Construct the Stairs
Step 1
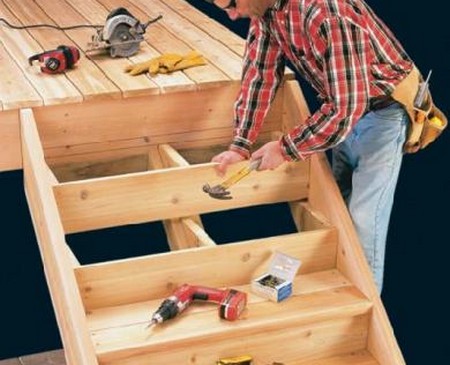
Pour your foundation. Install some lumber. Attach it to the foundation by concrete nails or bolts. The bottom stairs may also be joined to it. It’s called a kicker plate.
Step 2
Transfer the measurements of the steps from your previous calculations onto a 2 x 12 treated board. This is the your first stringer. A stringer is a board that a pattern has been cut into. It assists in stair calculations. Label how high the dimensions were from the old stirs to the short arm of the framing square. Position the framing square onto the board. This previous mark should be on the outter edge of the lumber board. Secure the square where it is. Move it up and then down. The width on the long arm square should be on the outter edge of the board as well.
Step 3
Draw around the perimeter of the framing square. (Your drawings will be shaped into a letter ‘v’)
Step 4
Mark the the treads.
Step 5
Take the tread’s thickness off the lower portion of the stringer. Carve the lower portion off to properly fit around the kicker plate.
Step 6
Slice down the drawn lines using a handsaw or a circle saw.
Step 7
Make sure teh parts are aligned. Now, draw and cut a second stringer. Use the first as a template.
Step 8
Use bolts or end joists witangle brackets ot joist hangers to secure the stringers to exposed joists.
Step 9
Use lag screws with angle irons join the lower portion of the stingers to the bottom (also the kicker plate).
Step 10
Slice treads and risers. Leave ¾ inch overhang.
Step 11
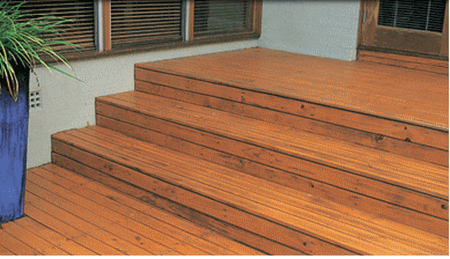
Nail or screw risers into position. Now install threads. Fasten the riser to threads. Enjoy your deck.

