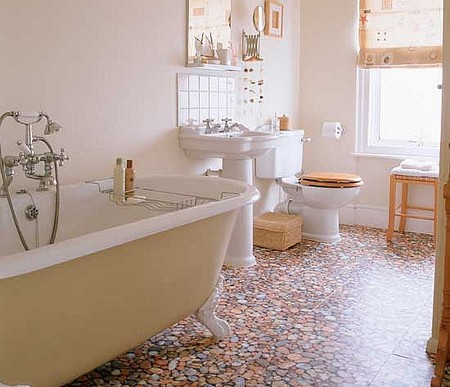
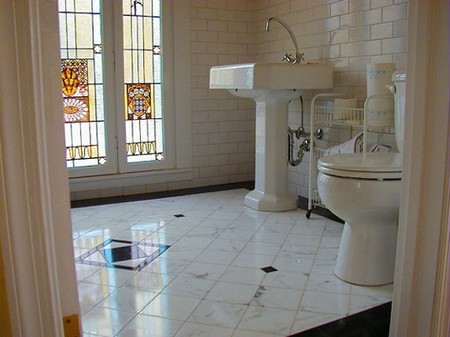
Like most builders, I usually prefer to install finish floors as late in the construction process as possible to protect them from wear and tear. However, in the small and complicated space of the bathroom, the floor is sometimes best installed earlier in the process. Having flooring—particularly resilient flooring that is relatively impervious to moisture—extend underneath a tub or shower rather than butting up to its front edge is a much more watertight detail, and cutting in any type of flooring around tubs and vanities is no fun. Installing flooring before anything else is in place makes for a simpler, more watertight installation of large bathing fixtures, and because the bathroom floor is rarely larger than the size of two sheets of Masonite, it isn’t difficult or expensive to protect after it’s installed. A careful sweep and vacuum, a layer of red rosin paper, and Masonite cut to fit with duct-taped seams will keep a finished floor safe from harm.
Resilient flooring
The next time you’re in a well-lit room with a vinyl floor, take a close look and see if you can find little bumps in it. Those little bumps are nail heads that have popped slightly proud of the underlayment and are pushing up the resilient flooring that covers them. That is why it is better to screw underlayment down rather than nail it: Screws aren’t as likely to pop up over time as the sheathing and framing dries and shrinks.

Underlayment should be installed over a layer of 15-lb. felt paper, which functions as a vapor barrier and prevents the wood-on-wood contact that can result in squeaking floors. Before laying down the felt, mark joist locations and plywood subfloor seams on the wall. Underlayment seams should fall on joists and should overlap subfloor seams. I try not to have a seam fall in the middle of a doorway. I always try to nail or screw into joists, keeping about a 4-in. fastener spacing around the perimeter and a 6-in. spacing in the field. Also, I leave about a 3/4-in. gap around the perimeter of the room between the underlayment and the sidewalls to allow for differential expansion. Plywood that is % in. thick and rated for underlayment by APA-The Engineered Wood Association is a good choice under resilient flooring because it won’t swell if it comes into contact with water. Other thicknesses might be more appropriate to bring the floor level up to match an adjacent floor. After the sheets are screwed down, fill in imperfections, seams, and screw holes with a nonshrinking filler, then sand everything flush after it dries. If there is an existing vinyl floor, underlayment can be placed on top of that, but anything more than two layers should be removed to the subfloor before installing more flooring.
Once the subfloor is in place, you’re ready to install resilient flooring. Layout of tile-sized resilient flooring is similar to the layout of ceramic tile. Try to avoid joints over seams in the underlayment, and pay attention to visually critical areas, like doorways and the area in front of tubs, so the resilient-flooring tile placement doesn’t look haphazard. This is, of course, more important with geometric designs than with solid-color or more abstract flooring.

Flooring subs often install sheet goods with the cut-and-fit (or freehand) method, simply laying an oversized piece of sheet goods in the room and cutting it in place. I think that the pattern method is more reliable and accurate, and the little extra time that it takes is well spent considering the high cost of some of these types of flooring. Besides, bathrooms often have a lot of nooks and crannies that make freehand installation tricky.
Almost any pattern material will do, as long as it cuts easily and can be fastened together with masking tape or duct tape. Make the pattern by laying out sections of pattern material until the entire floor has been covered, taking care to carefully follow indentations and irregular edges with material that is cut to fit. Then tape all of the material pieces together, carefully roll the pattern up, then spread it out again on the rolled-out flooring. Shift the pattern around on the sheet goods until the layout looks good—for example, lines in the pattern should be parallel or perpendicular to cut lines—tape the pattern down to keep it from shifting about, and then cut the flooring out.
Before applying mastic or adhesive, take a careful look at the underlayment for indentations or imperfections, then give it one more thorough vacuuming. Roll out the sheet goods onto the floor to test for fit, then lift one section of it up at a time and comb out the mastic with the appropriate-size notched trowel. After the floor covering is in place, roll the entire floor, moving from the center to the perimeter, to release trapped air bubbles. Different manufacturers and different types of resilient floor coverings have specific recommendations for the type of adhesive to be used with their product, as well as specific laminating instructions.