Things You Need:
- Weather- resistant stain
- Sandpaper
- Smooth Stones or Mulch
- 2×4 inch pressure treated boards
- 2 2×8 inch pressure treated boards
- 2×10 pressure treated boards 10 ft long
- Rope
- Circular saw and Jigsaw
- 1 ¼ Galvanized Steel Piping
- Stain (weather resistant)
Drill
Seesa Made with Window Well Fulcrum
Step 1
Locate the section of the play area you have free to build the new seesaw. The area needs to be clear and free from clutter. Look above the place and make sure there is nothing that could impede play on the seesaw when in motion. Lay out mulch or stone in the area.
Step 2
Build a fulcrum pivot. This goes where the seats will be located. Use two window wells (galvanized) and put them on the ground. Use spikes to secure them.
Step 3
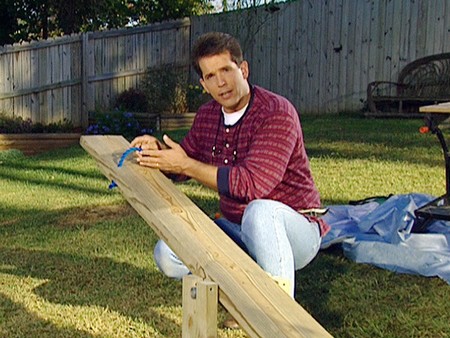
Use 10 foot 2 x10 inch boards that are pressure treated for the seesaw seat. Measure16 inches from both ends and 1 1/4 inches from each side of the board. Drill holes and place ropes through. Tie knots to make sure the ropes don’t slip. These are handles.
Step 4
Center and attach the seesaw seats to the fulcrum. Mark the board on both sides and screw wooden blocks to secure the seats.
Step 5
Sand all the edges and coat the seesaw with a stain. It should be weather resistant.
Seesaw Constructed with Steel Pipe Fulcrum
- Implement step 1.
- Cut two 2 x 8 boards 35 inches long. Notch the ends and place 19 inches into the ground. Use a post hole digger.
- Use steel pipe (galvanized) in the pivot secured with pipe straps. Secure this with cement.
- Repeat step 4
- Use a 2 x 4 inch brace board and screw it to the seat board. Notch the center of the brace board. It should measure 1 ¼ deep and 1 ¼ inches wide. Place them on the pivot bar.
- Finish the same way as above.
