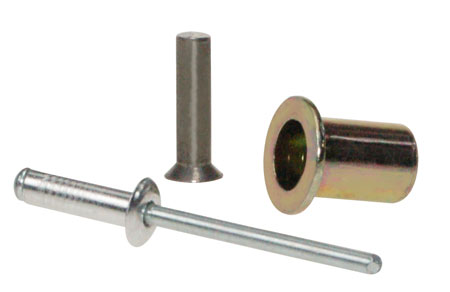
Before the portable pop rivets came in to the building picture, some old fashioned rivets had their share of the history pages. First this technique was used to create the world class monuments like the Eiffel Tower, the Sydney Harbour Bridge and the Shukhov Tower. It was the essential element to establish the reliable automotive chassis. Also, aircraft relied on the benefits like high strength and also light weight.
The modern counter part of the traditional rivets allowed people to stick materials together just by working on single side of project. Here is how proper popping is to be done.
- Align all your materials accurately to make all the necessary preparations to the initial steps of work. Bring the materials to ensure that there can be appropriate alignment. If setup includes first material on top of other then it is advisable to use the clamp to establish required stability.
- Create the perfect fit. Boring the holes into areas which require riveting as an integral step need attention in detail. Holes must be made all the way by both materials. Make a point to check drill bit and rivet’s diameter. Measurements must coincide. Observe the proper drill at bit removal. This will be done by allowing tool to rotate as it is pulled out there by preventing shape of hole from being getting distorted.
- Choose the tool which suits your own style. A riveting job will be accomplished with a gun or with a riveter. Generally, head portion will be attached to pliers like handle. The tight grip on handles triggers wheels to force rivet towards the gun. Two surfaces involved here are joined together through two motions that include flattening of rivet’s head and breaking of its pin. Pin’s separation will be dictated by predetermined weak spot. Then check compatibility of tool’s nose piece with shank of the rivet. Flange of rivet should be seated comfortably on nose piece when rivet is inserted.
- Load it up nicely. Get tool of your choice and put pointed portion of rivet in the front portion of riveting gadget. As mentioned, head area of rivet should make the sufficient contact with nose piece of tool. Make sure that you have established stable and a firm attachment. This will be done by giving a little of pressure on tool’s handle. Insert whole setup into holes that you have initially made.
- Pop will set you free. Then start with actual riveting by giving enough pressure to materials which you intend to unite. While you do so, give handles a pull they need, and then release for a while. Once you are assured, that head of rivet has been closely attached to gun you can give handles another pull. These steps must be done continuously. A pop sound marks end of riveting project. The gun itself will free from that secured rivet. You may attend to other holes after letting what is left in rivet fall off from tool.
- Do not forget to protect yourself, while exposed to such situations. Safety glasses along with gloves will safeguard your well-being.
