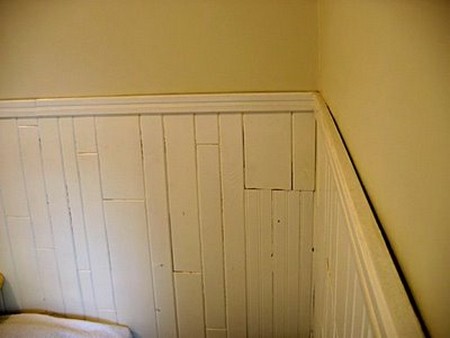
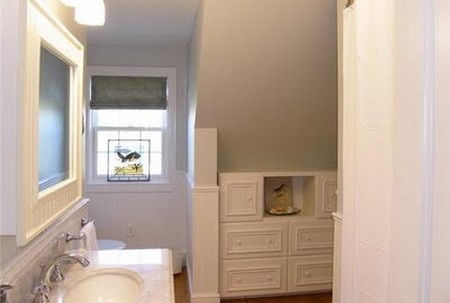
Hanging wainscoting is a creative option when trying to redecorate an interior wall. You should hire an interior remodeling company to do it for you. Wainscoting changes the look and feel of paneled walls. There is a second wall feature on the top portion that adds style. Using wainscoting to redecorate opens up a variety of decorative options for you. You can remodel your room to give rich, classic, traditional elements or to lighten the room to give an airy, free energy. Whatever your choice wainscoting can help achieve it.
Things You’ll Need:
- Tape measure
- 4-by-8 foot wainscoting panels
- Skill saw
- Hammer
- Screwdriver
- Pencil
- Gorilla glue
- Paintbrush
- Finish nails
- Baseboard (same color as wainscoting)
- Trim board (same color as wainscoting)
- Corner trim (same color as wainscoting)
Step 1
Gather the dimensions of your walls. Measure out how many pieces of wainscoting you will need to cover the surface completely. Wainscoting comes in 4 x 7 feet sheets. You will need to cut the sheets with a skill saw to the dimensions that will allow you to make two 40 inch high panels from each sheets.
Step 2
Take a pencil and measure 40 inches from the floor up the wall. Mark your place. Move across each wall marking a 40 inch high indicator every 3 feet. Take your level and draw a horizontal, intersecting line across the space. Ensure that the entire line is level.
Step 3
Now, remove your baseboards. Take a screwdrive and hammer, pry the boards from the top portion by wedging the screwdriver in between the board and the wall by striking it with your hammer. Gently remove the baseboard from the wall. Remove all the baseboards along the walls.
Step 4
Lay your first sheet of wainscoting on the floor with the back of the panel facing up. Place some gorilla glie on the wainscoting with a paintbrush. Make sure the entire area is covered completely.
Step 5
Plavce your sheet of wainscoting on the wall. Start at the corners. Make sure to line the top of the panel with the light pencil marks you made before. Secure each panel of wainscoting with a nail. Place a nail in each corner of the panel. Press down on the surface evenly so the glue makes contact with the wall. Continue with all the panels until they are situated.
Step 6
Now, add the trim. Attach the trim to the very top of the wainscoting with nails. Overlap the tops of the panels. Measure the trim and cut it down. If you can, use a pice of trim that is as long as the wall. If this isn’t an option, place no more than two pieces of wainscoting together so that there is one section where the trim cojoins.
Step 7
Reattach the baseboards to the walls. Secure them with finishing nails. Lay out the baseboards in the same manner the trim was layed. Repeat the above steps for each wall you want to cover. When all of the panels and trim is installed, measure the corner trim boards. Secure them with finishing nails as well.

