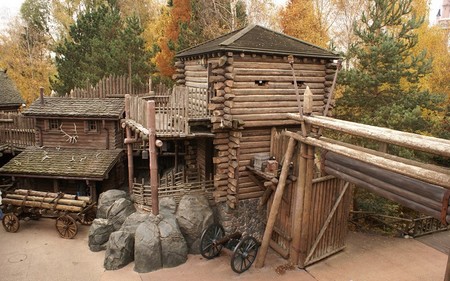
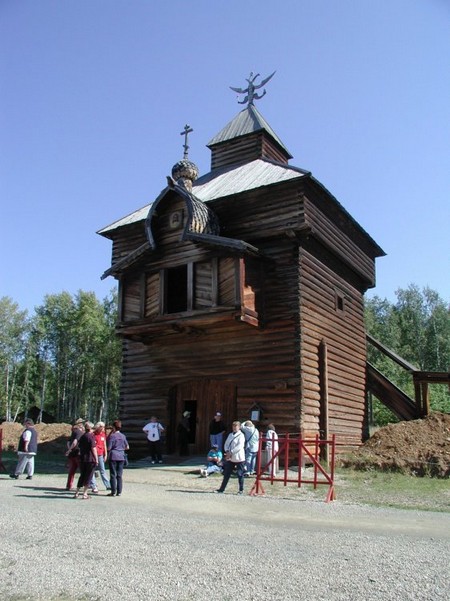
Every parent has been asked by their children for a Pony and a fort. Now, at least one of these is not out of the question. You can build your child a fort for less than $150. It’s not as complicated as you may imagine. Here is how you can build a fort easily. Read on.
Procedure:
Supplies:
- Hand or Table Saw
- Electric Screwdriver
- Sledge Hammer
- Wire Cutters
- Pencil
- Screws (rust proof)
- ½ inch roofing staples (rust proof)

- Chicken Wire (25 feet)
- 8 foot poles (12-14)
- 6 foot vines
- Wooden Board (to make a sign)
- Shower Curtain
- Curtain Hangers (24)
Step 1
Pick out a space in your back yard to build your fort.
Step 2
Place your poles in a square shape on the ground. Pick each pole up individually and hammer it into the ground. The poles should be secured at a minimum depth of 1 foot. Be careful not to make these poles too far apart.
Step 3
Now, we need to install the crossbeams for the fort. Have another person assist you with this part. Use four poles. Hold the first pole up making sure it meets the right and left corner posts installed in the ground. Have your assistant mark the place where you will drill the holes. Mark both the crossbeams and the corner posts. Do this for all sides of the fort. Drill the holes where the posting are marked. Place a crossbeam into position and have your assistant screw the structures together securely.
Step 4
Now, you will need to secure the middle crossbeams for the fort. Use three poles and mark the spot on the postings where they are to be connected to the corner posts. Drill the holes. Place each post into position and screw it to secure it. This will be done for only three sides of the fort. The front of the fort will not have a middle crossbeam. This will be the entrance to the fort.

Step 5
Name your fort. Have your child choose a name for the fort and paint it on the wooden sign. Hang the sign on the front, upper crossbeam.
Step 6
Place your shower curtain rings on the front, lower crossbeam. Attach the shower curtain to the rings.
Step 7
You can place flowers on the side of the fort to add decoration. If you are making this fort for a girl, you may opt to make the roof of the fort triangle shaped to resemble a castle or house.
Step 8
Invite your child to enjoy the new fort you’ve built for them. Have fun.